Miscellaneous Technical Modifications - Contents
Miscellaneous technical modifications to my Coronet.Installing an electric fan and fan speed controller
I had to replace my waterpump. But before you can do that, you have to remove the fan and pulley. So this was the right moment to get rit of the mechanical fan and install an electric one. I bought a Zirgo 16 inch 3000 cfm puller/pusher fan. In this case it will be a puller.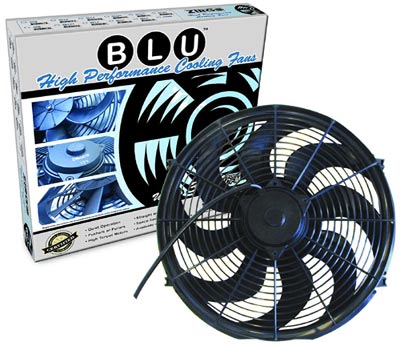
Fan speed controller
I did not want a simple on/off fan controller, especially with a 3000cfm fan. So I was looking for a variable speed controller. And I found one, a Flex-a-lite 31163, with a thread-in temperature sensor. I will put the sensor in the intake, near the thermostat.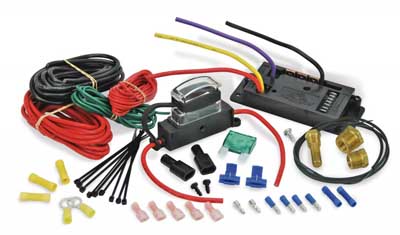
New fan shroud
I had to fabricate a new fan shroud. The original plastic fan shroud had to be extensively modified to hold the electric fan. So the original fan shroud will be put aside. I will fabricate the new shroud out of aluminium.Mouseover the images for larger images.
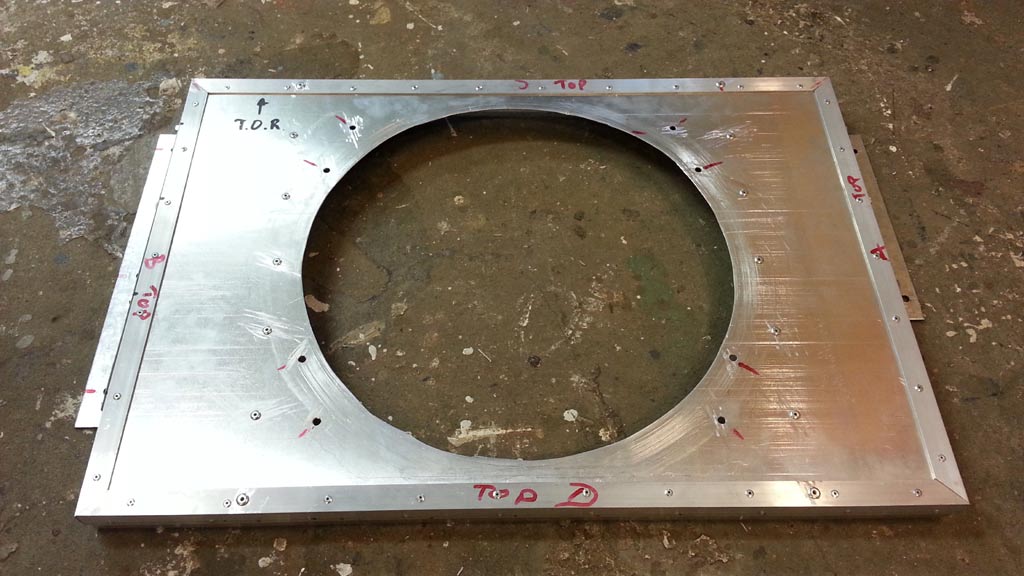
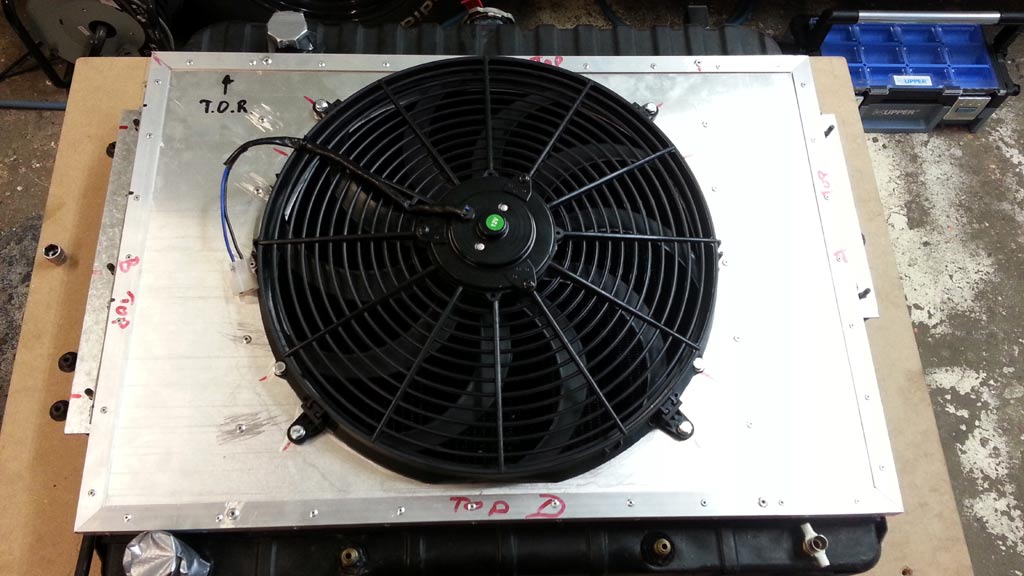
The new aluminium fan shroud. The outside, where the fan will be mounted.
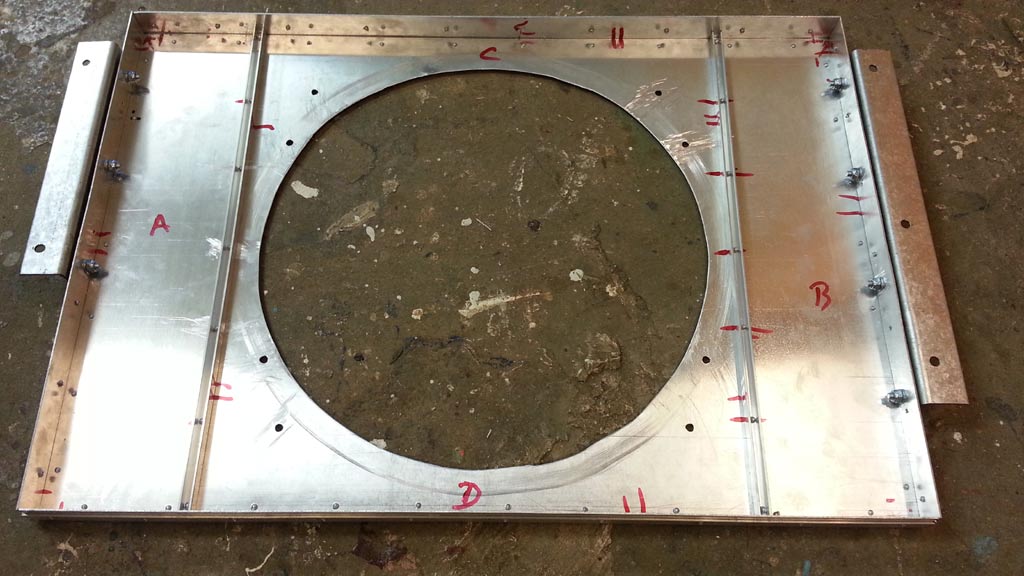
The inside. I installed two extra U profile aluminium bars. The make it more rigid.
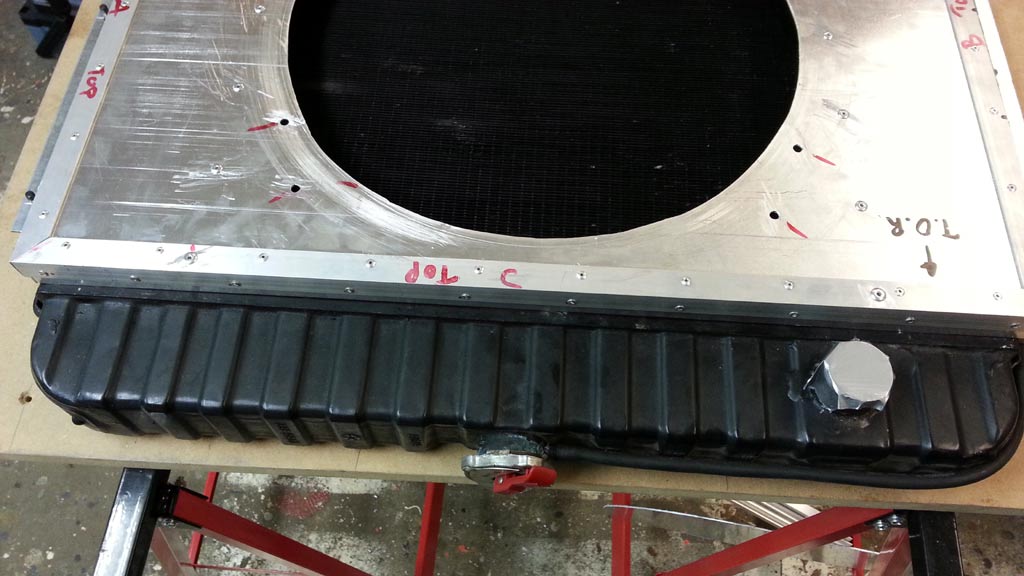
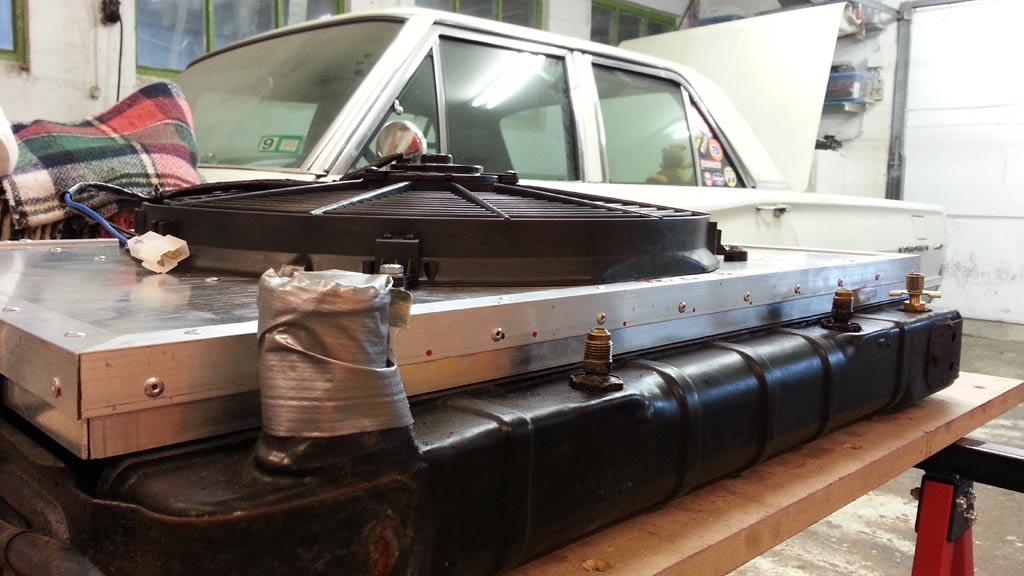
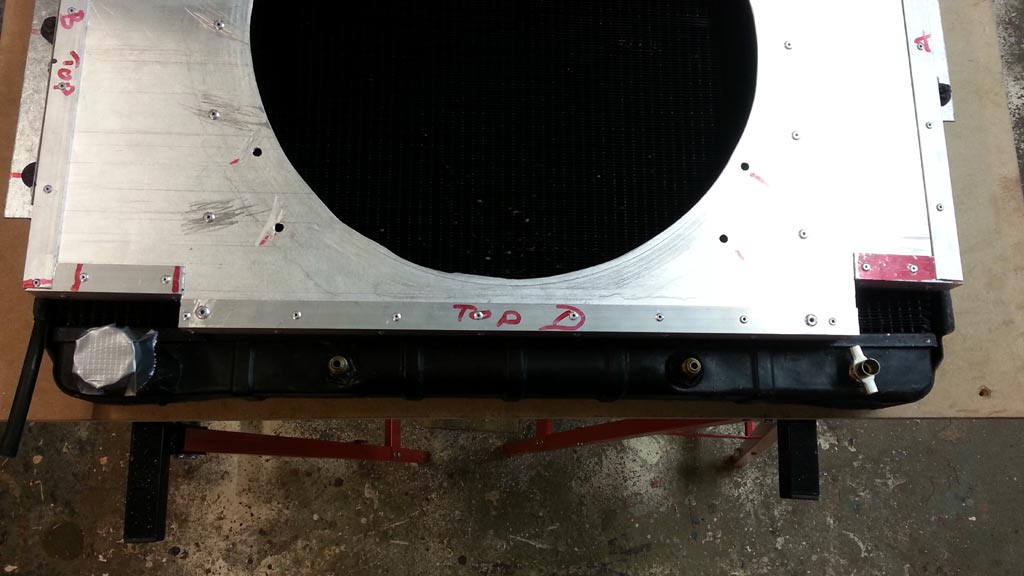
Checking if the shroud fits the radiator.
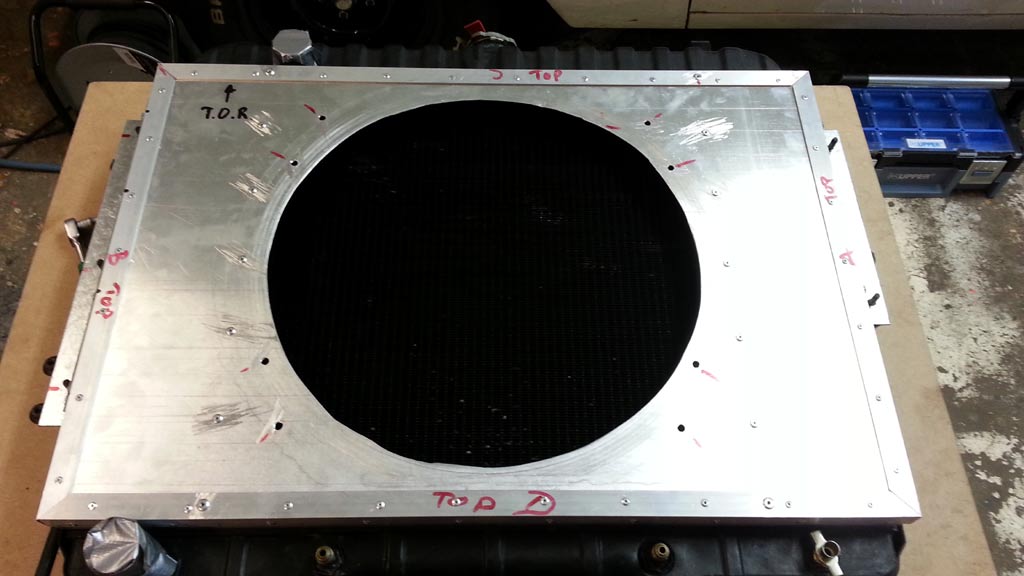
Top and bottom of the rad and shroud. It is still the original radiator, with the build in transmission cooler.

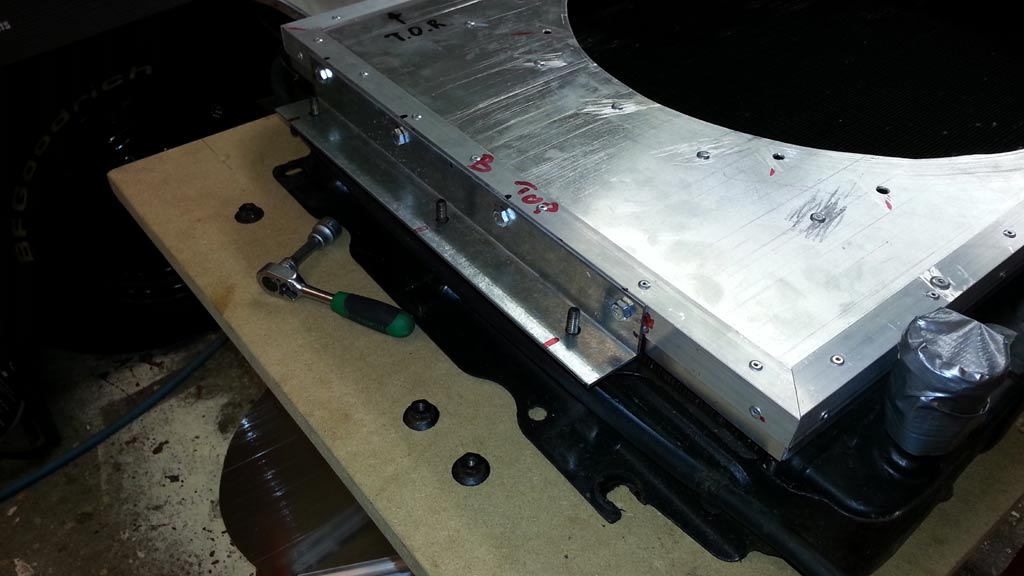
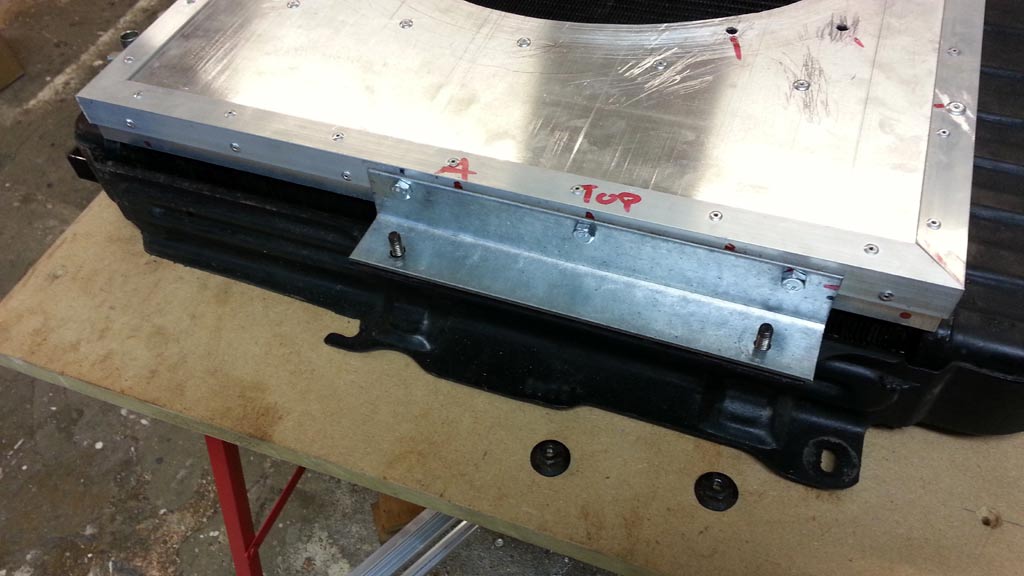
The two metal profiles which connect the shroud to the radiator.
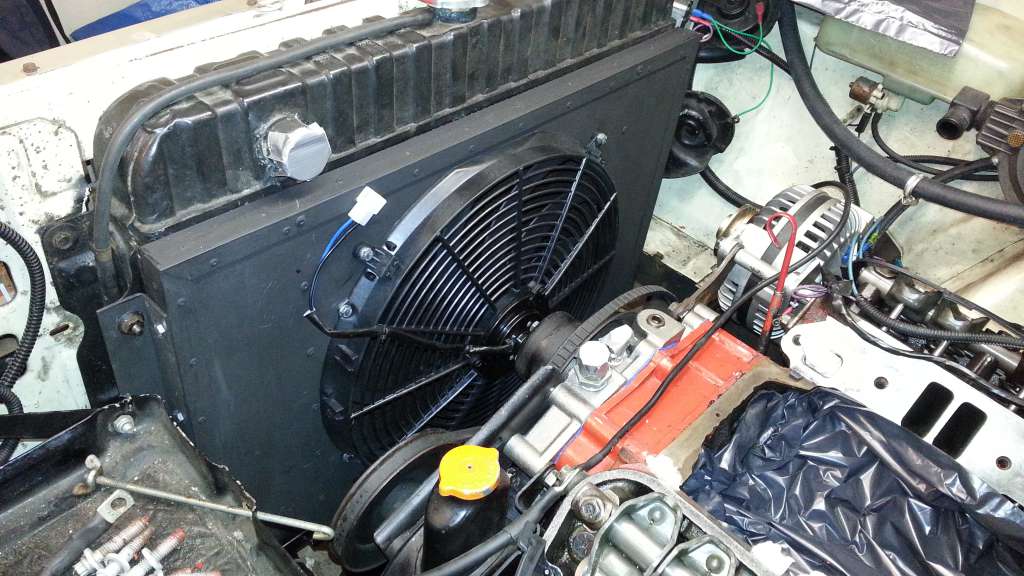
Installed the new electric fan.
Some adjustments had to be made. The cutout on the right side, was to clear the right side strut rod.
The shroud was hitting the strut rod nut.
So i had to cut away enough material to make sure the shroud and strut rod don't hit each other while the car is moving.
The cutout on the left side is just enough to get the lower radiator hose installed. No problem with the strut rod.
And I installed a new radiator drain petcock as well, the old one was busted.
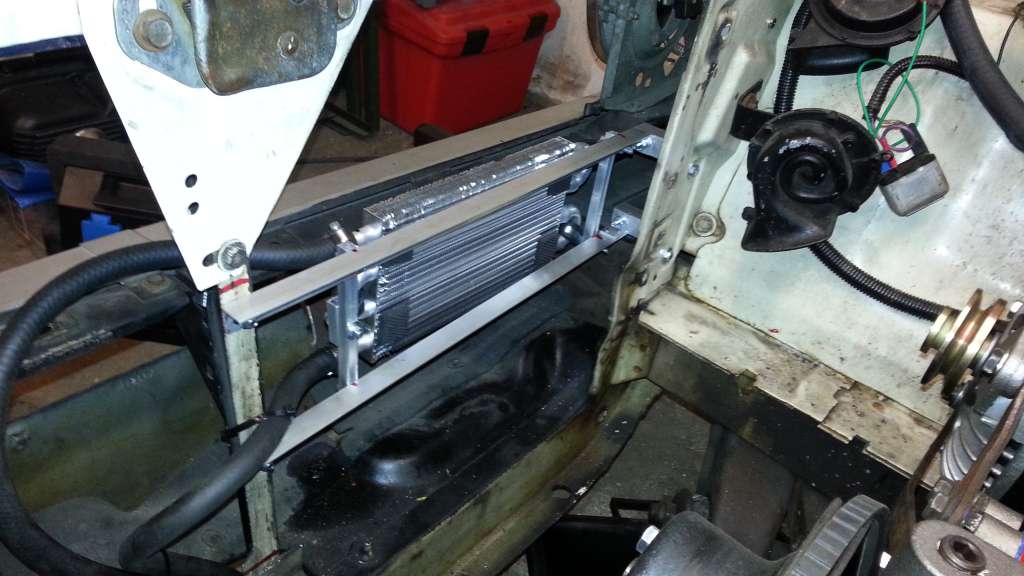
I fabricated a separate frame for the transmission cooler.
This way the radiator can be removed, without removing the trans cooler.
Because the original fan and fan hub are not needed anymore, the waterpump pulley is mounted with new, much shorter, bolts to the waterpump.
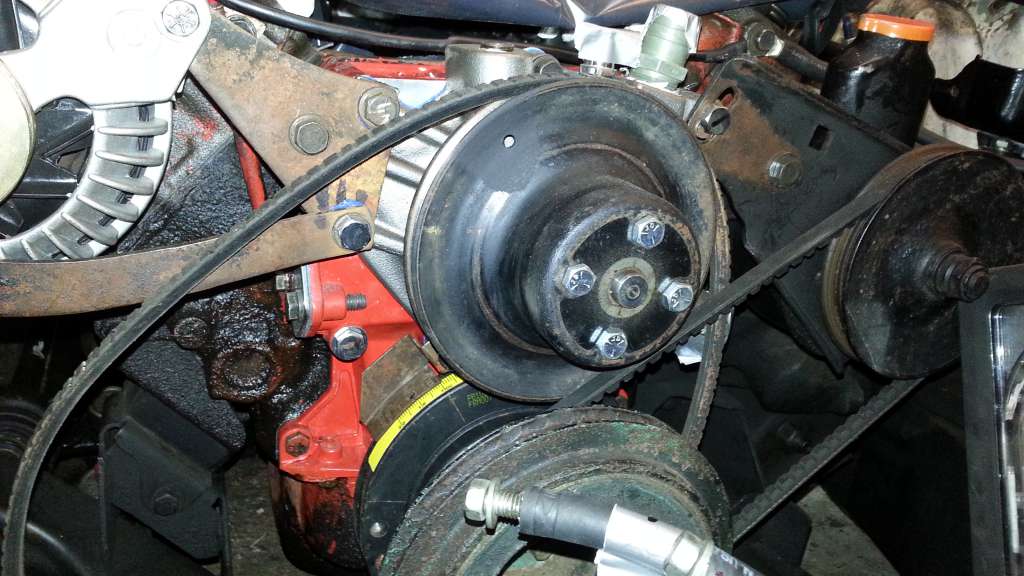
Everything is bolted together and installed in the car again.
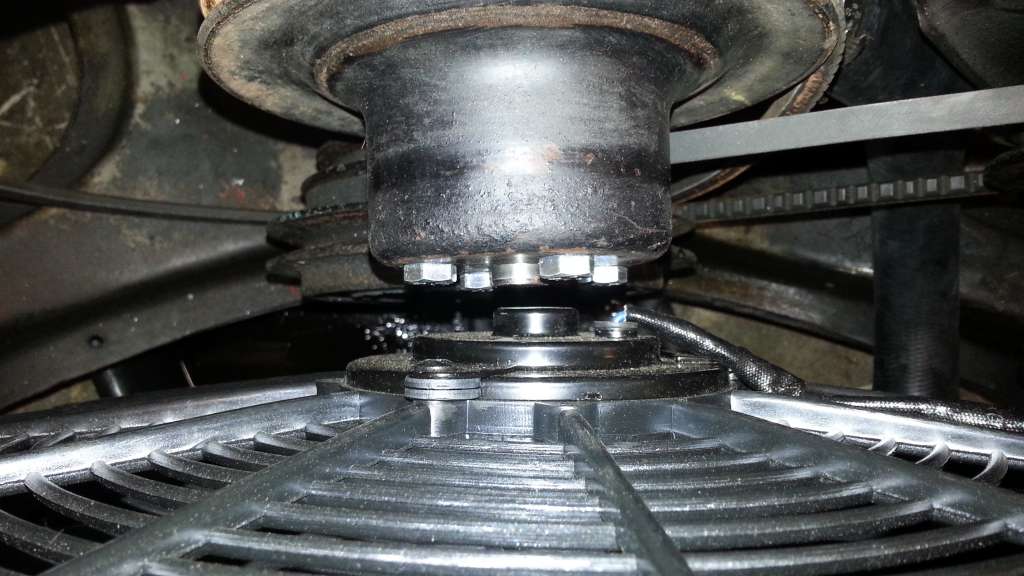
The fan and waterpump pulley are about 3/8 of an inch of each other.
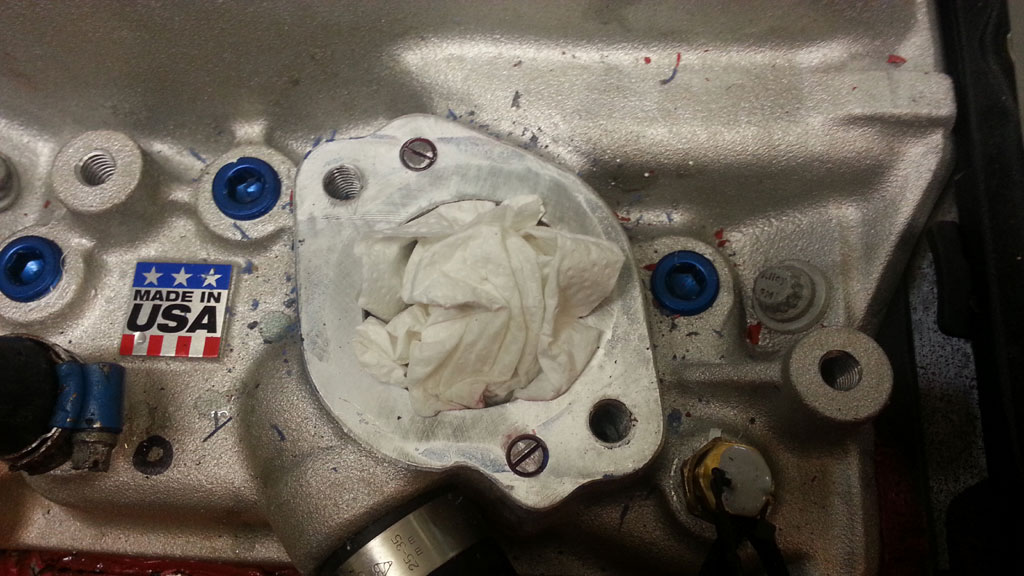
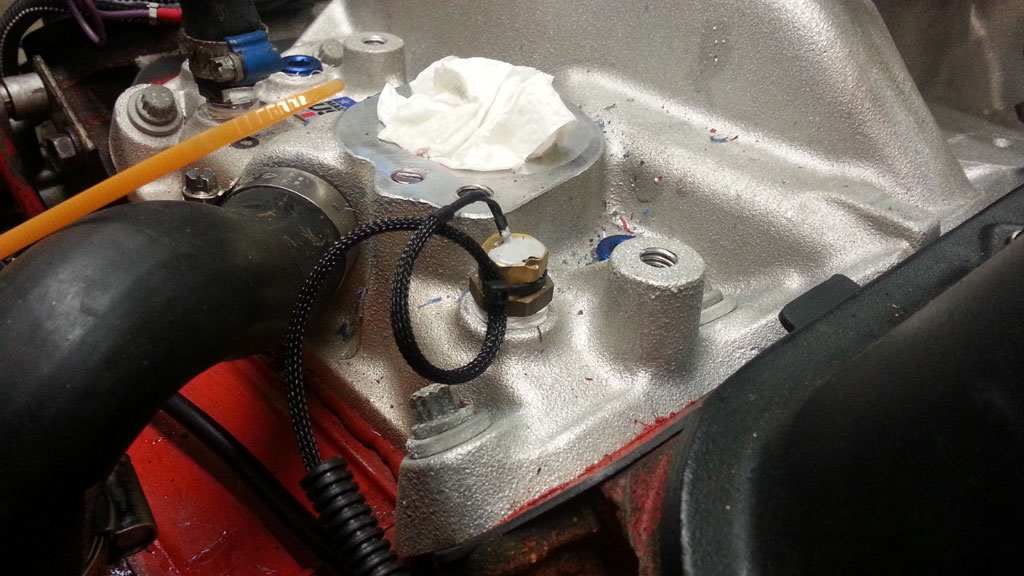
While putting in new coolant, there was leaking coolant out off the side of the thermostat housing.
I had to fix that first. The leak was near the extra mounting holes, which will not be used.
To create a wider area for the gasket, I put in two homemade set screws.
Back to the fan control, this is the temperature sending unit of the fan controller. The wires are fixed to the sending unit,
which makes screwing in the sensor a little tricky. Wires are Ty-rapped to the base of the sender, in a little piggy tail,
so the wires don't break at the base of the send unit.
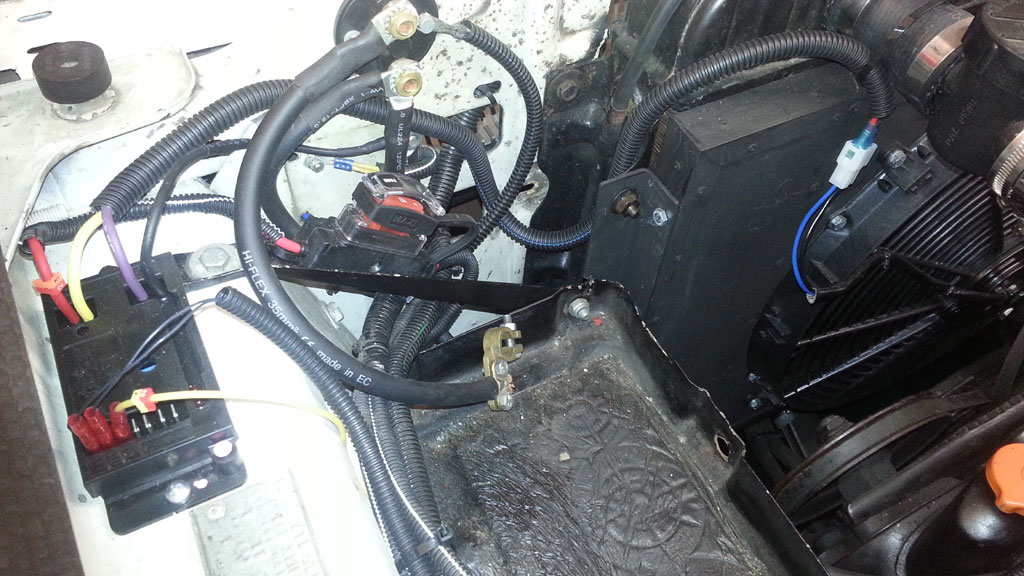
This is the fan controller unit on the left. The main fuse for the fans at the right of the controller (a big Maxi Fuse).
And on the right, the connector to connect the fan(s) to the controller. The tray in the middle of the picture, is for the battery.
BTW, the fan controller is waterproof, but it is advised to mount it some what higher into the car, to avoid unnecessary waters plash.
So mounting the unit on top of the inner fender well is a good place; dry and not to much engine heat.
Maybe there should be a couple of outlets in the shroud. So when the car is driving fast the air can, not only passing through the fan, but also via the extra outlets. Gives better cooling.