Crane Cams ignition
I was looking for a capacitive discharge (CD) ignition, but there are so many brands. But one pops up everywhere and everytime, MSD.
They advertise, in my opinion, very aggressively. It looks like there is no other brand or better product.
(This is probably the whole idea in the first place. And they have succeded, I must say.)
But there are other brands; Accel, Pertronix & Mallory to name a few.
But MSD's aggressive advertising puts me off. So I was looking for anything but MSD. And to my surprise there was something better!

The first thing that comes to mind, when you hear Crane Cams, is their quality cams and valvetrain parts. But they make ignitions since the '90s!
In 1995 Crane introduced the industrys first digital ignition. This was followed by the industrys first digital "drop in" points replacement, the industrys first adjustable distributor with 27 advance curves, and the industrys first distributor to employ fiber optics to send a trigger signal.
Cranes technically advanced ignition systems were subsequently embraced by many oval track competitors, and in the ensuing years the firms distributors and ignitions have been used by championship-winning race teams in NASCAR Sprint Cup (formerly Winston and Nextel), Nationwide (formerly Busch) and Camping World (formerly Craftsman) truck series, as well as ARCA Re/Max and USAR Hooters Cup series competition.
So, maybe, you understand why I choose Crane Cams.
Unfortunately Crane Cams does not make ignitions anymore. Cranes ignition systems are bought by FAST www.fuelairspark.com.
Introduction, the distributor
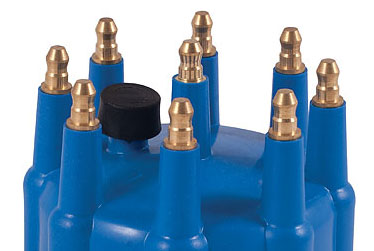
Crane Cams will be handling the entire ignition (except the spark plug wires), beginning with the companys excellent Pro Curve Billet distributor.
The stainless shaft rides on bearings in a billet aluminium housing. I 've got the small-cap distributor.
Which is a normal size distributor cap. There is a large-cap, which is much larger in diameter, but is less high.
Crane's distributor is a direct replacement for the LA distributor,
which can be dropped in like an OEM distributor.
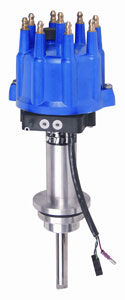
The Crane distributors are unique because they use an optical trigger (instead of magnetic) for improved spark accuracy.
Theres also no mechanical advance which can be prone to failure, spark advance is handled by the ignition box. The distributor is vacuum-sensing,
although there is no vacuum canister. This is handled electronically.
You can see the two dials for the advance, the tube for vacuum advance and the stainless steel trigger disc.
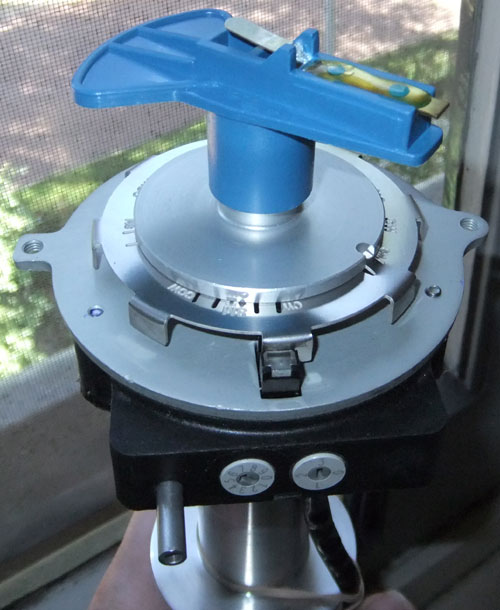
Crane Cams doesn't sell/make the Pro Curve Billet anymore. There is only the Race Billet with locked out timing and without vacuum advance. I think Crane didn't sell much Pro Curves. Too bad, it is a good product.
Ignition box
Crane has several different ignition boxes based on specific applications, from a street driven car, like my Coronet, to a high performance car
that is run only at the track. Cranes web site provides you with the information you need to make the right choice for your ignition control box,
and the HI-6 is the best fit for the Coronet. The Coronet is only street driven.
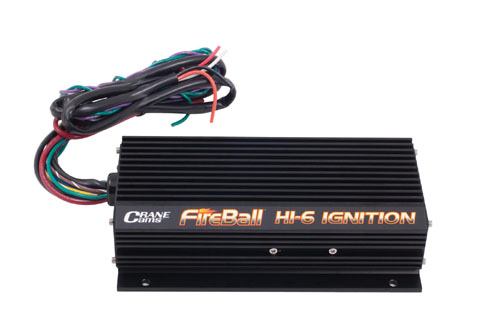
The capacitive discharge ignition system allows for a bigger gap on the spark plugs, which means a bigger spark. Other features on the Hi-6 include fully digital components sealed inside the box for protection against heat. water and vibration. Cranes multispark ignition provides a more complete burn of the fuel by firing multiple times instead of just once per cycle, and the built-in dials allow you to set a rev limit on your ignition. This keeps you from over-revving because of a missed shift and helps to protect your engine by cutting the spark to varying cylinders when the rev limit is reached.
Coil
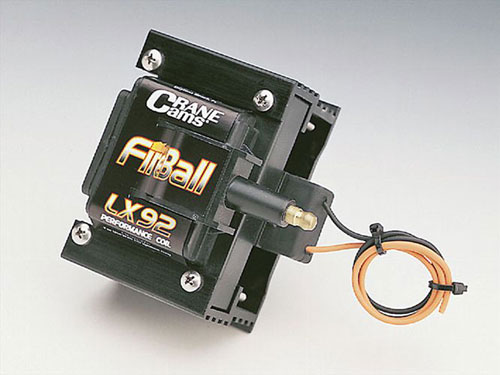
The FireBall LX-92 coil is designed to work with the HI-6. Its a high output coil that provides up to 70% more output than a stock coil.
It uses heavier gauge wire for lower resistance in an E-core design. Which means there is less inductive power leaking,
which in turn gives more power to the spark plugs.
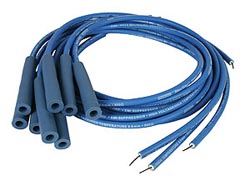
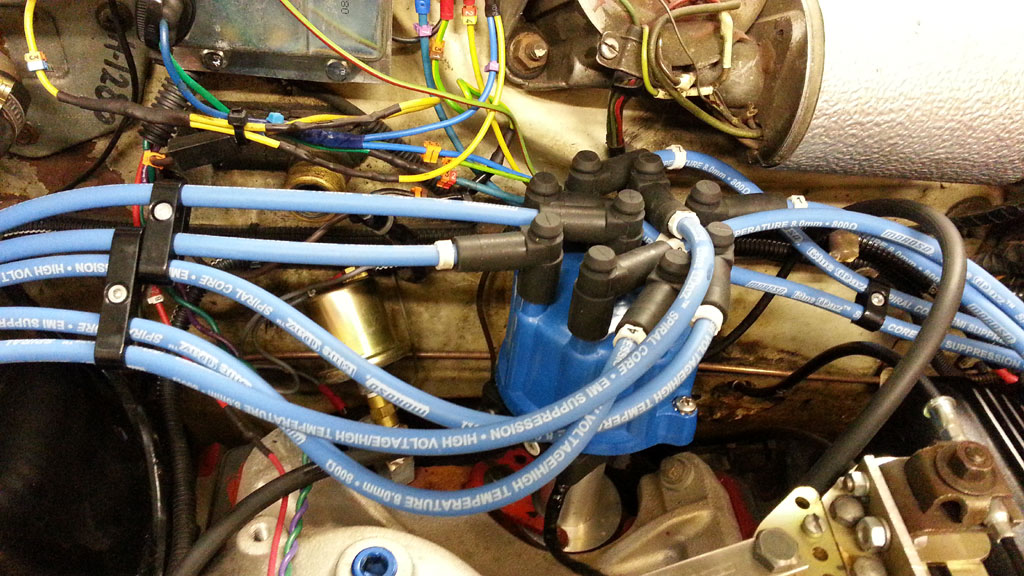
Spark plug wires
I also need new spark plug wires. Because the Crane distributor cap uses male fittings, HEI style. Mopar distributors using female fittings.
The wires will be 8mm Blue Max spiral cores from Moroso. To hold those high energy sparks inside the wires
 .
It is a cut-to-fit set, so it's up to me how long the wires will be. This way you don't get those extremely long wires, which hanging all over the place.
Which you definitely get with a pre made wire set.
.
It is a cut-to-fit set, so it's up to me how long the wires will be. This way you don't get those extremely long wires, which hanging all over the place.
Which you definitely get with a pre made wire set.
I have got some interesting info from a Crane Cams technician
It is possible to turn off the multispark, for e.g. testing purposes. This is for the HI-6 (6000-6440). You have to put the rev dials to 01. Which means, the 1000x should be on zero (0) and the 100x to one (1). This way there is no multispark and no rev limit. I do not know if this will work on the whole HI-6 series of ignition boxes...
The second one is about the Stage Limit Input (the Yellow/White wire). The instructions are not that clear about it.
There are three options regarding to the rev limiter and the Yellow/White (y/w) wire:
- Stage Limit - connect y/w wire to a stage limit switch. Which switches 12volt when on.
- Max rev limit - connect y/w wire to a continuous 12volt source.
- No rev limit - do not connect the y/w wire to anything, tape it up.
Removing glove compartment to make room for ignition module
Mouseover the images for a larger image.
The preferred mounting location, according to Crane, for the CD unit is within the passenger compartment.
Away from exhaust system heat and protected from water splash. So I decided to mount the unit into the glove compartment.
The glove compartment was already modified by a former owner to mount a radio into it. So no harm done there.
To get a good foundation for the ignitionbox and a large fusebox, I mounted a sheet of, not too thin (2mm = 0.078"), aluminium into the dashboard.
Where the glove compartment originally was.
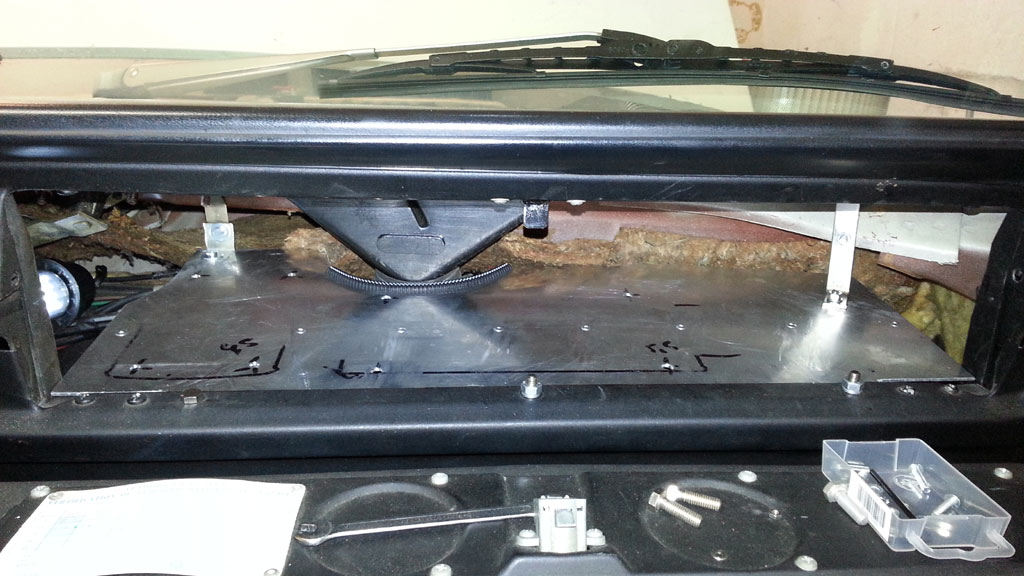
After sawing the basic form out of the sheet aluminium, the painstaking process of making the panel fit into the former glove compartment began.
Before it was finally finished, I had sawed, filed and drilled a lot of aluminium. The Crane ignitionbox is heavy, so it couldn't be too weak.
Some aluminium L-profile is mounted to provide more rigidity.
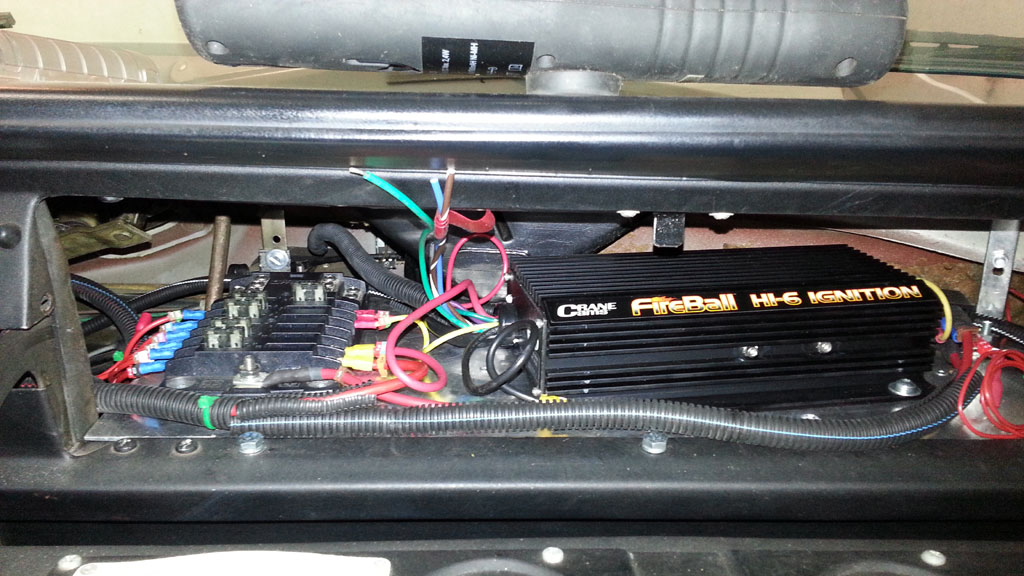
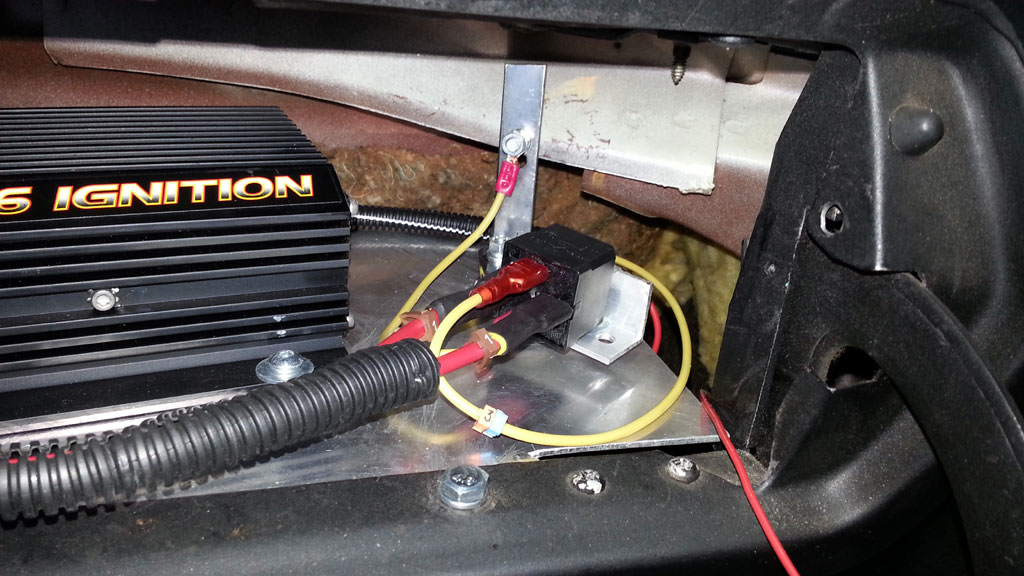
On the left, the fusebox. At the right the Crane Cams ignitionbox.
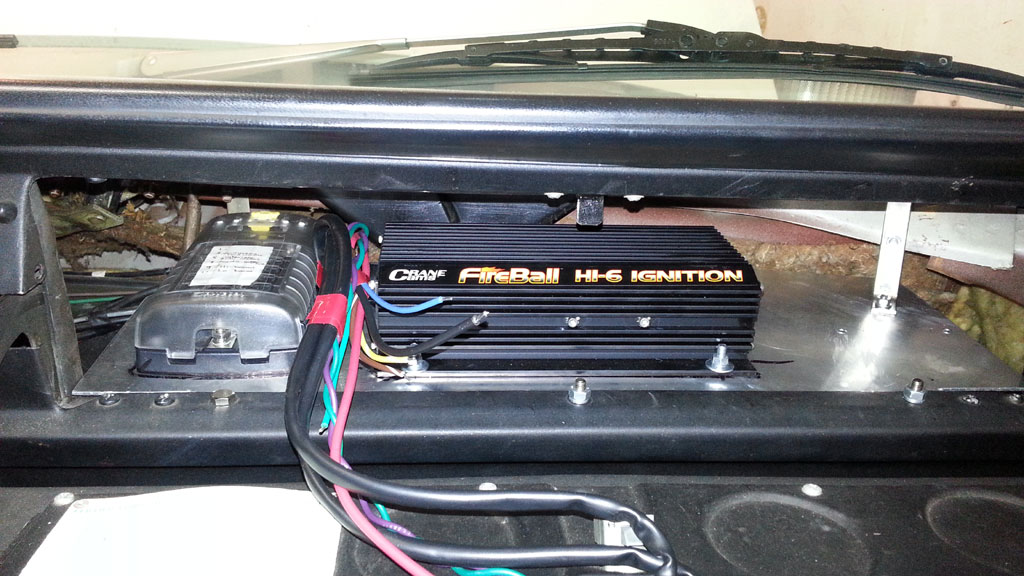
As you can see in the previous picture, the Ignition- and fusebox are to close to each other. I could not fit the wires properly.
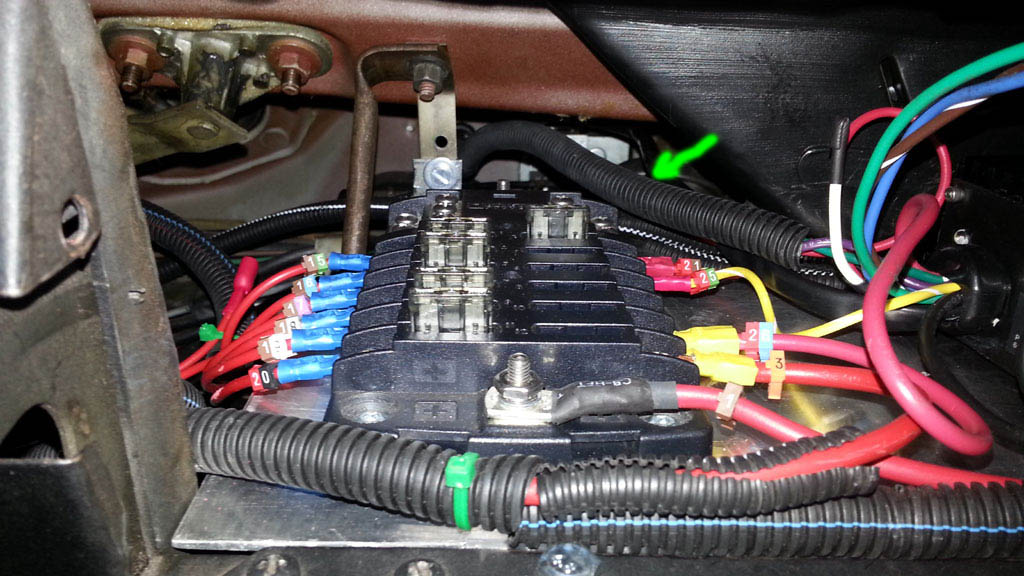
So I moved the ignitionbox and the fusebox a little. I used rivet nuts (rivnuts) for all the nut & bolt connections.
This gives a cleaner look and it is easier to put in the bolts.
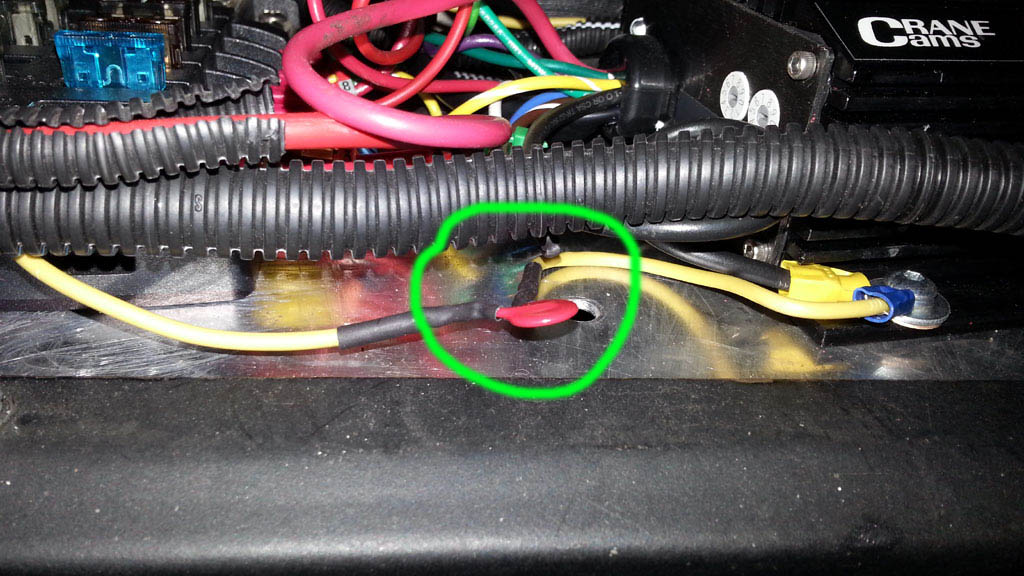
As luck would have it, there was an unused hole in the firewall and a grommet which had two wire holes free. So I put a grommet into the unused
hole and put some of the ignitionbox wires through it. And the other wires went through the existing grommet.
The green arrow indicates the wires which are going to the engine compartment (five wires; two for the coil & three for the distributor).
Engine compartment
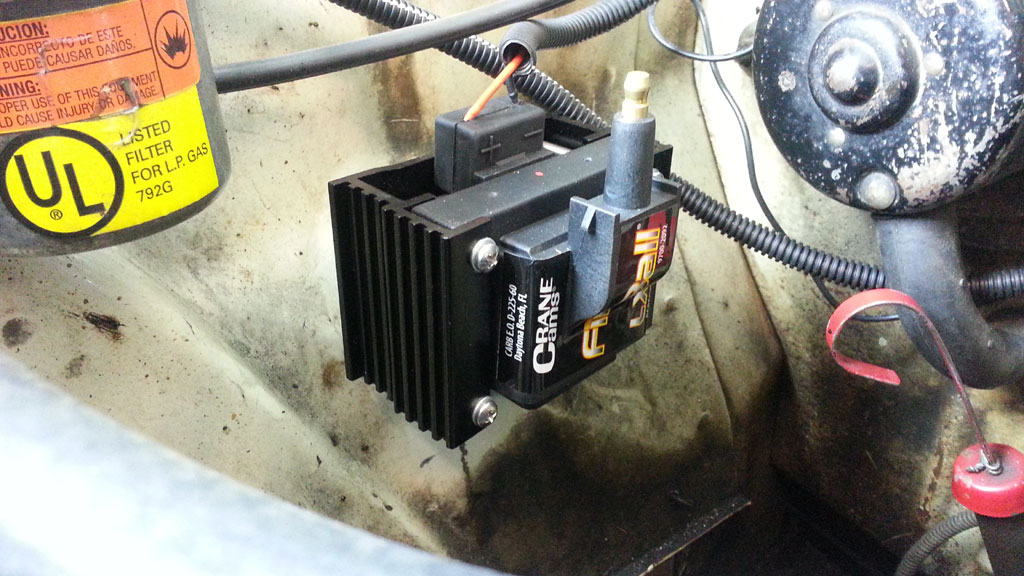
Installed the Crane LX92 coil. On the same bracket as its predecessor, a little modified though.
The mounting points where originally used to mount the receiver-drier of the air conditioning unit.
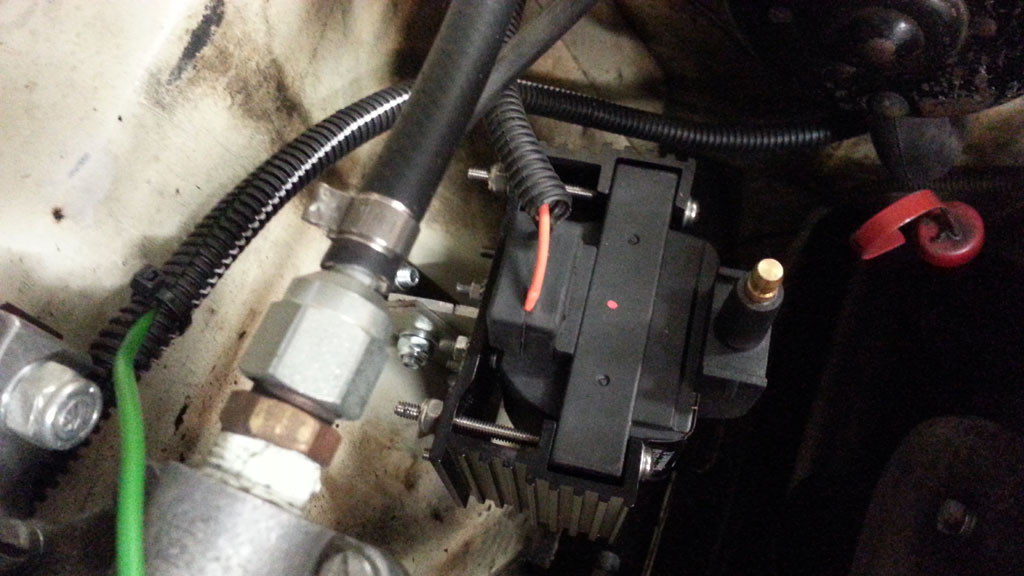
Top view.
Glove compartment
Installed a relay with bigger terminals. The 10 gauge (6mm²) wire was to big for the 6.3mm connectors.
The connectors slipped off to easily.
So now the connectors stay connected with the 9.5mm terminals.
Old cars do not have a continous 12 Volt during starting. So I had to make one. I used the IGNITION-1 and IGNITION-2 and connected them together. This gives a uninterrupted 12 Volt to operate the above mentioned relay. This way the ignition works during starting and while the engine is running.
I installed a voltage-dependent resistor (VDR), an unused component from the Crane ignition box.
Power surge protection for the electronics, all voltage surges higher than 40 Volts are eliminated.
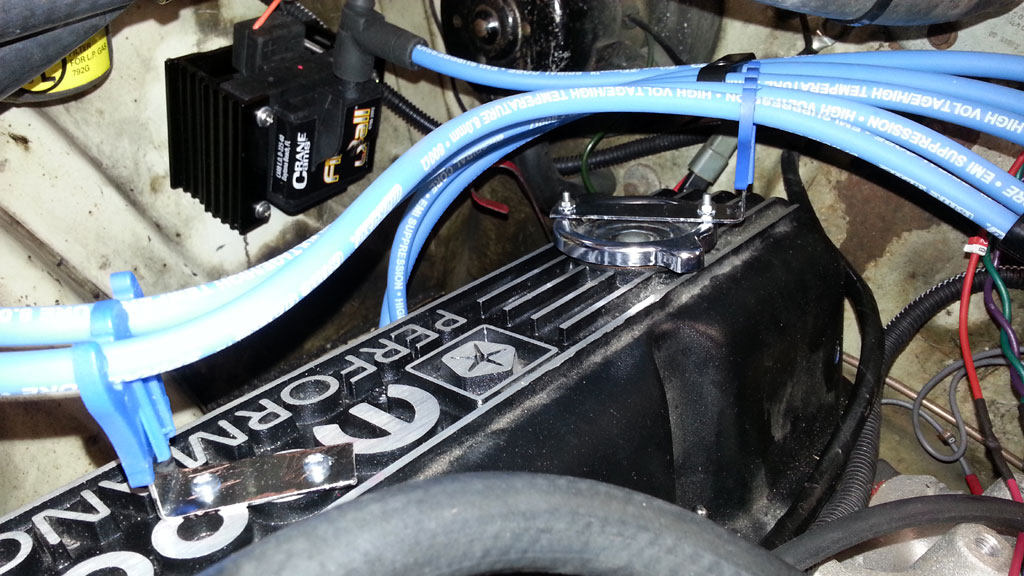
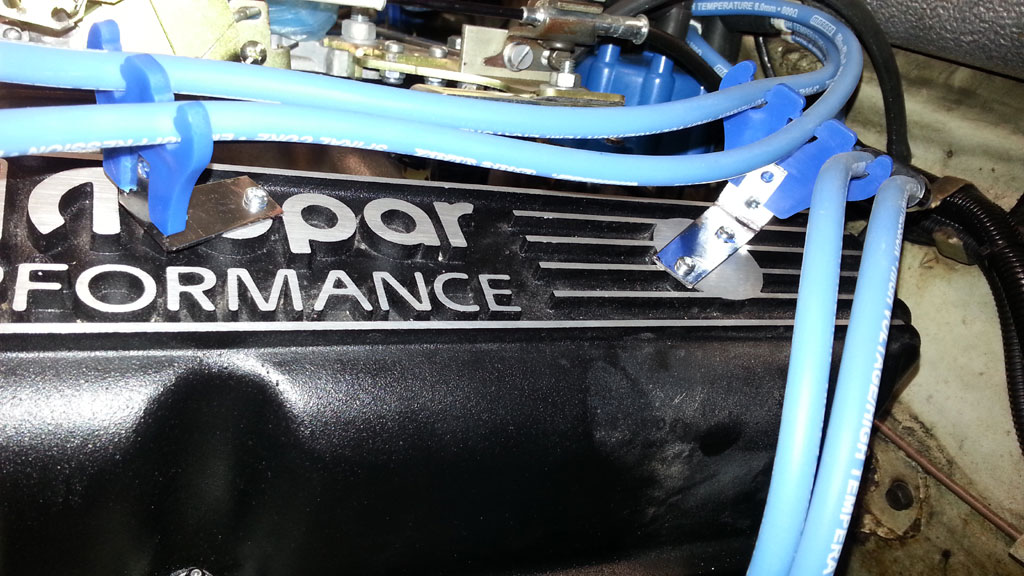
Ignition wires
Installed new ignition wires, Moroso 8mm Blue Max. And I modified some wire separators,
so the ignition wires are not hanging all over the valve covers.
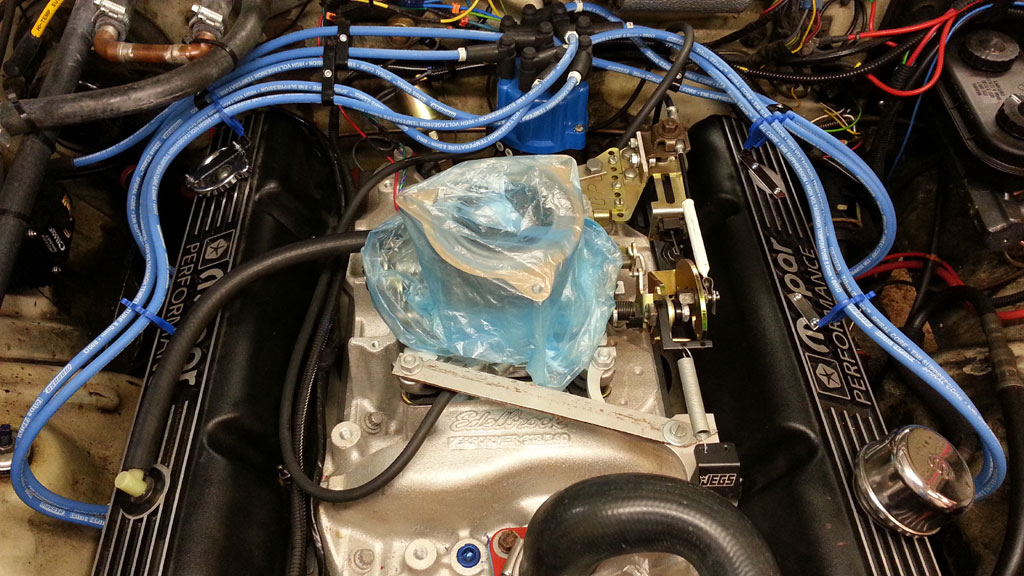
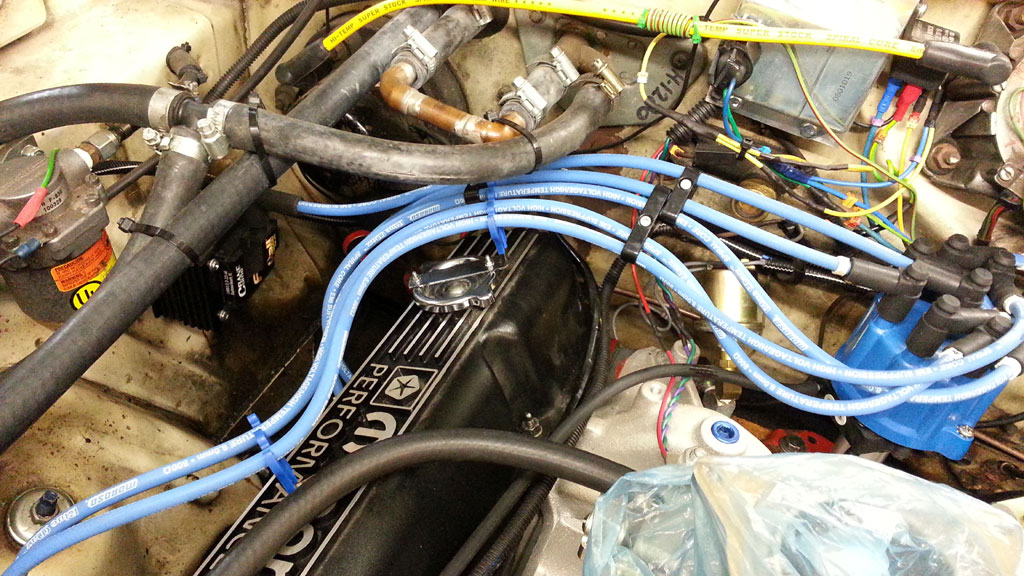
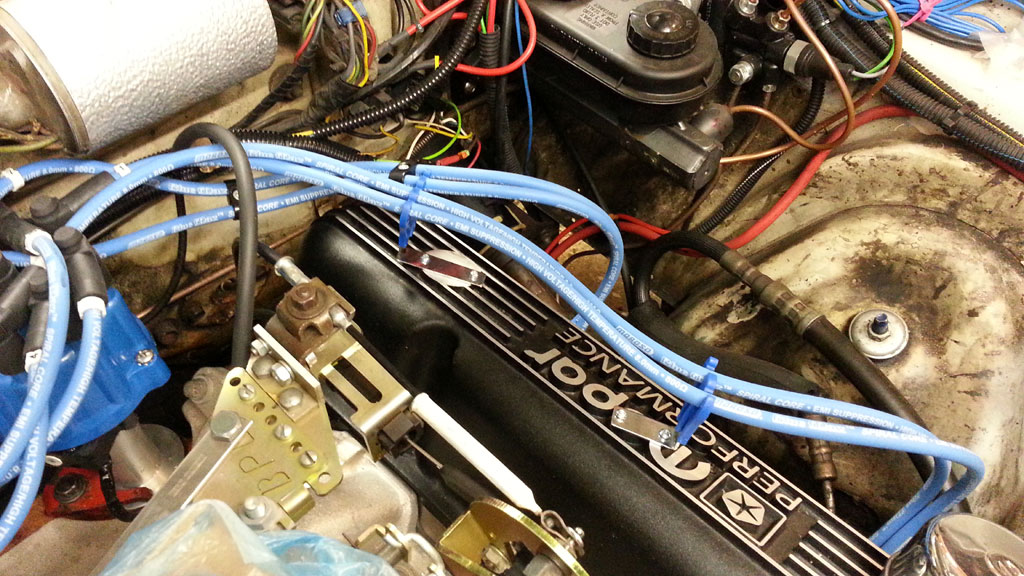
I drilled some holes into the aluminium valve covers. And tapped some thread,
so I could use screws to fasten the wire separators. For one of the four separatos I had to come up with something different.
The oil filler cap was in the way. So I mounted the separator on top of the cap. You can fill the oil via the breather cap.
This project is finished.