Stopping 4,000 pounds of '60s technology, with 21st century technology.
My car has 10 inch drum brakes on all four corners and no brake assist. So upgrading the front drums to discs is a big improvement. Together with a new master cylinder, booster and rebuild rear drums, the Coronet drives into the twenty-first century. Traffic nowadays is much more demanding for your brakes then back in the late sixties, when my Coronet was build.
I didn't want to buy every individual piece. So I looked for a complete kit. From master cylinder to the necessary nuts & bolts.
There are a couple of big names in the aftermarket brake business, Wilwood, Stainless Steel Brakes & Master Power Brakes, to name a few.
They all make quality brake kits. But because I just rebuild my front suspension, I didn't want to have a kit with new spindles. With that in mind, there aren't
many companies who make such a kit. But Stainless Steel Brakes (SSBC) does. They have a kit for which you can use your old drum spindles.
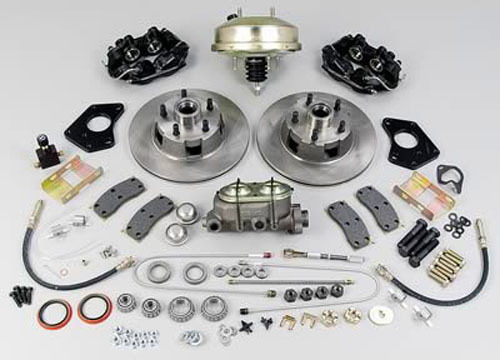
I must say, what an incredible nice kit (A156-1). Everything bagged & labelled and individual packed. Everything you need is included:
- Front drum to disc brake conversion kit with 4-piston cast iron calipers.
- Bolts to stock drum brake spindle. For O.E. non-power cars only.
- Includes master cylinder and 9 inch booster.
- All hardware included (hoses, brake lines, nuts & bolts).
- Proportional valve included
- 11.25 inch rotors, solid surface
Maybe in the future, who knows?
Let's get starting
Mouseover the images for a larger image.
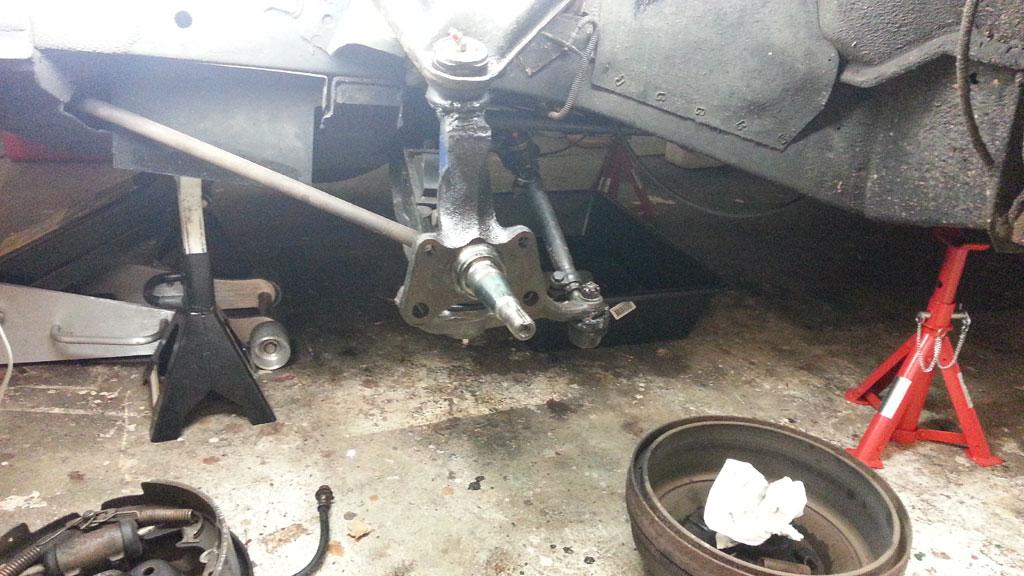
I just removed the old drum brakes. The actual drum and the backing plate.
Here you see the bare spindle, only connected to the upper balljoint.
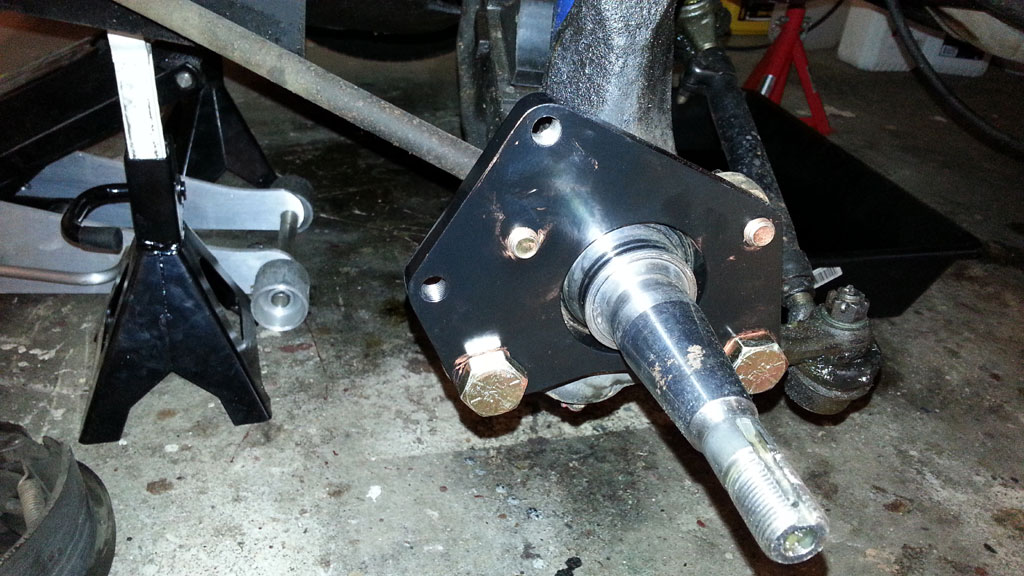
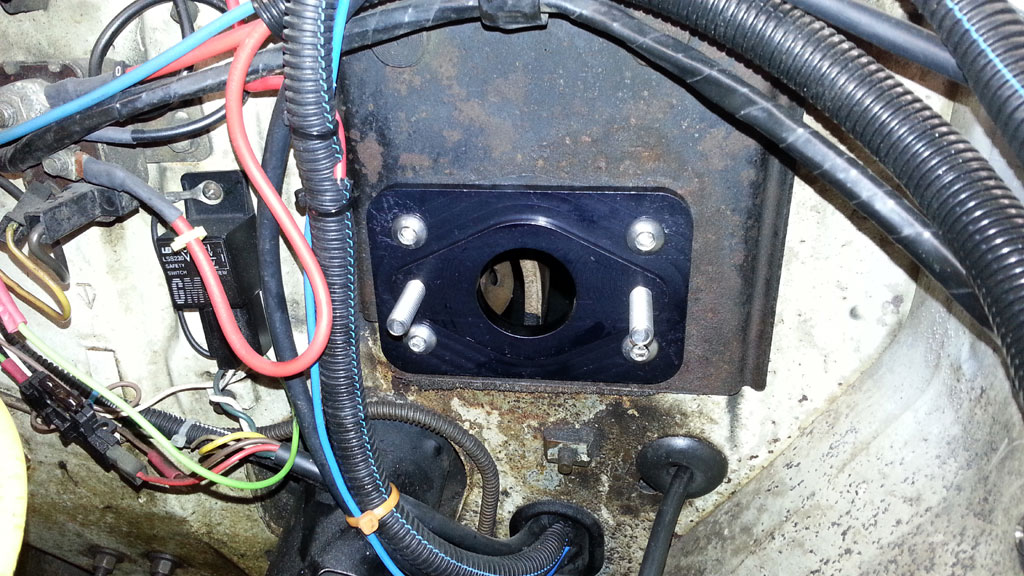
The caliper mounting bracket is attched to the spindle. With new hardware.
The lower bolts had to be torqued to 150 ft/lbs (~200Nm). I can tell you, that is a lot when you can't easily work your torquewrench.
But just when you think, I can't get it any tighter, the torquewrench clicked.
The two upper bolts are going through the back side of the spindle and are threaded into the caliper mounting bracket. So no need for nuts.
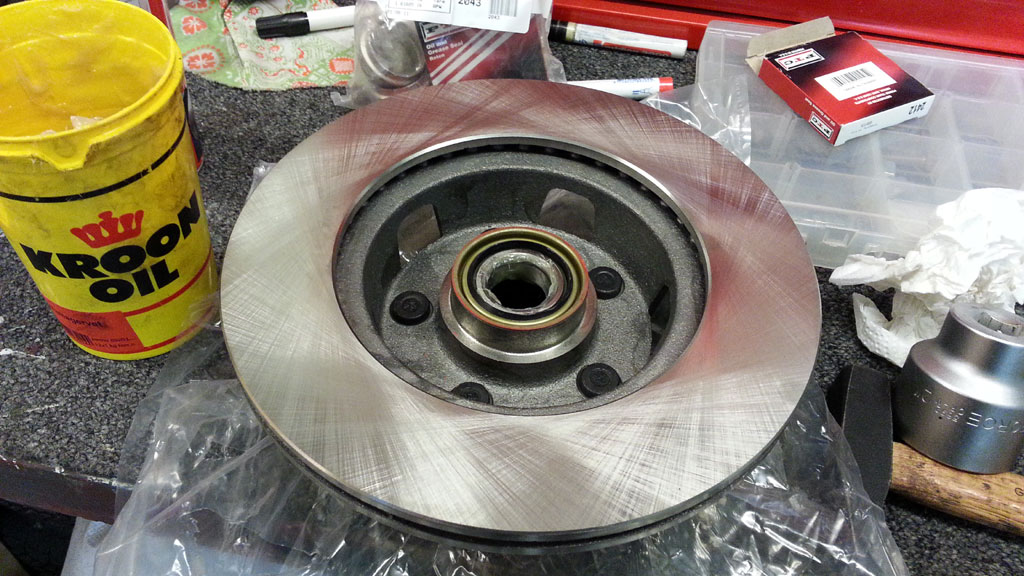
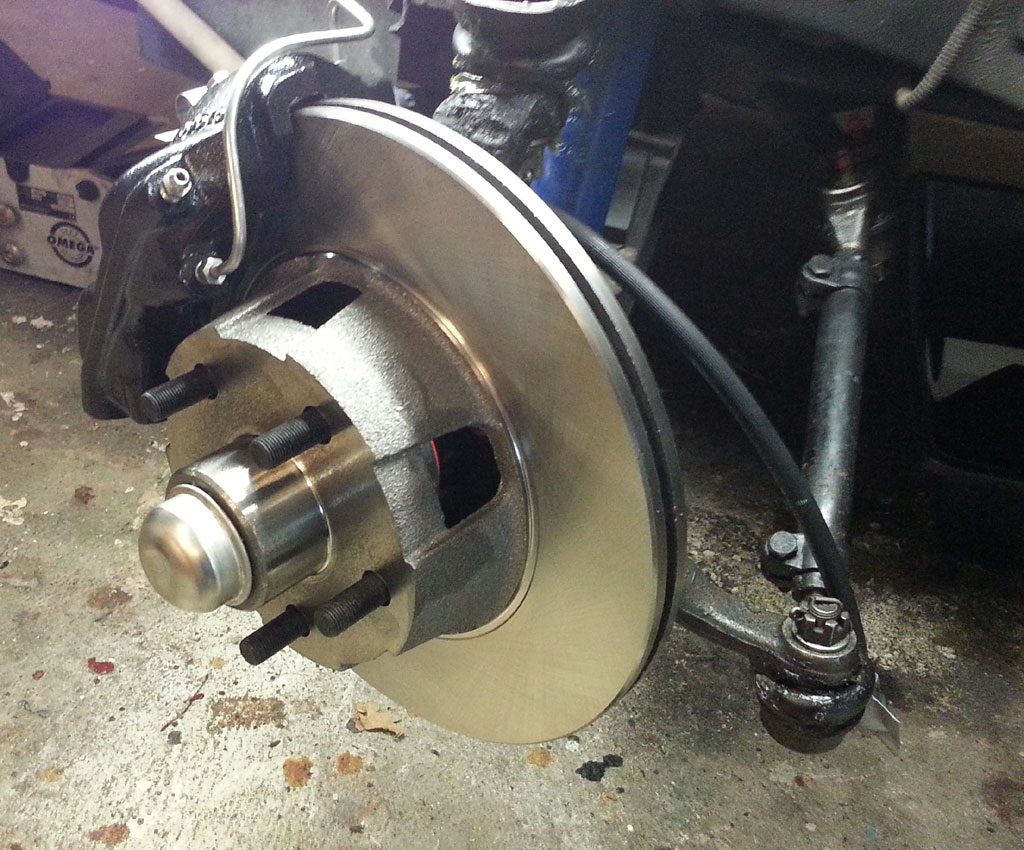
This is the back of the rotor, standing on the studs. I just packed the inner bearing and installed it into the inner rotor cup.
And topped it off by placing the grease seal. I could tap it into place with an 2 inch socket.
The rotor could now be placed onto the spindle. The outer bearing had to be packed and installed.
And to finish the job, a big washer and the adjusting nut had to be installed. I just finished tapping in the grease cap.

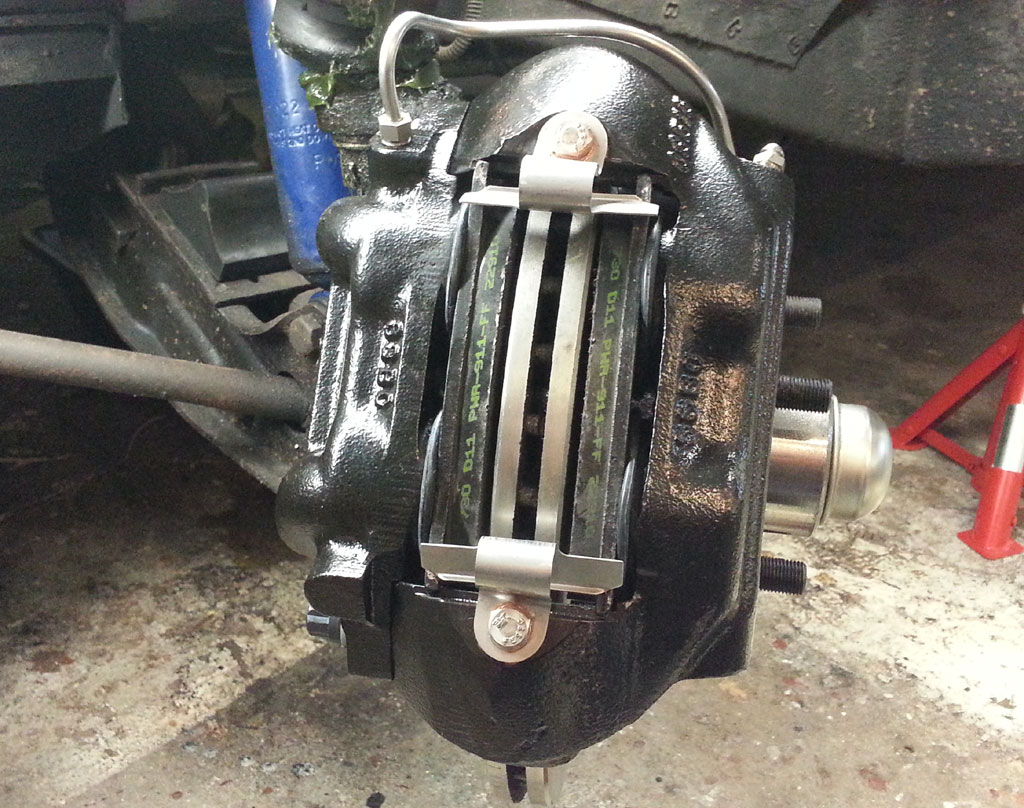
The caliper and brake pads are installed.
I did a quick check to see if my wheels fit, and they do. Nothing is interfering with the wheel.
The right side is fnished as well. It goes a lot faster, when you know how to do it.

Unfortunately the master cylinder can not be installed yet. I have to replace the LP-Gas equipment to the left side of the engine bay first.
.jpg)
Once again a big setback. The gearshift linkage is hitting against the brake booster...
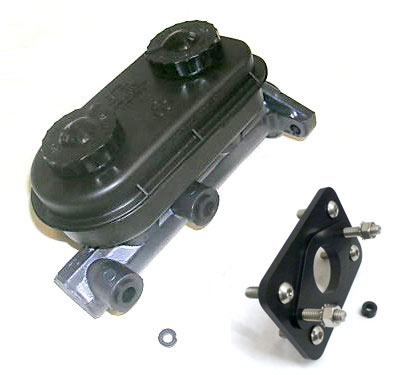
So I have decided to discard the SSBC brake booster & master cylinder, in favour for a manual master cylinder.
A lightweight aluminium one, including an adaptor plate. From DoctorDiff.com.
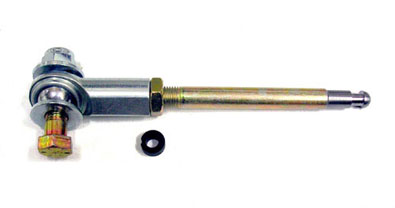
And a new adjustable pushrod. This way I can adjust the brake pedal height, so it's the same height as the accelerator pedal.
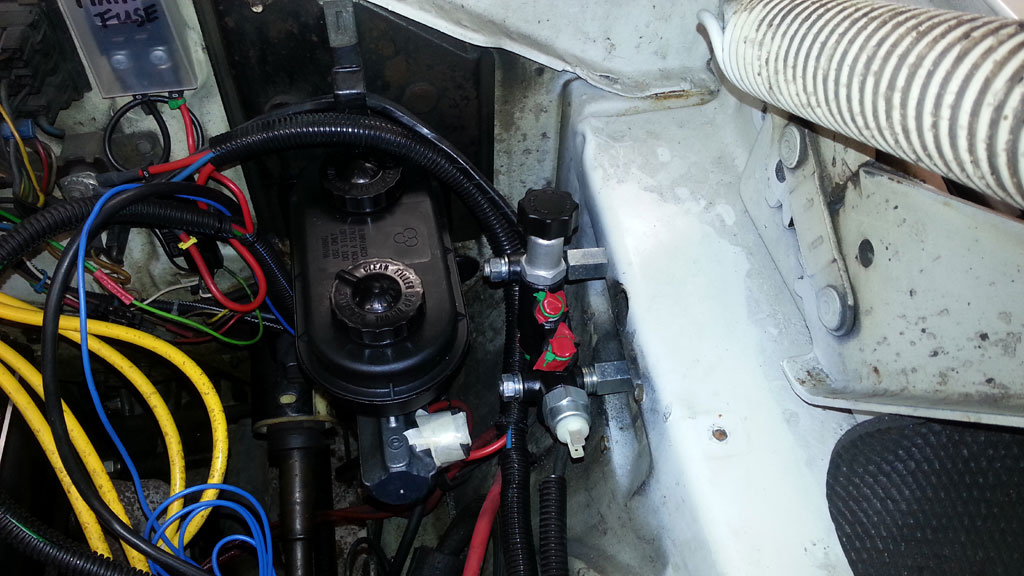
The adaptor plate is installed.
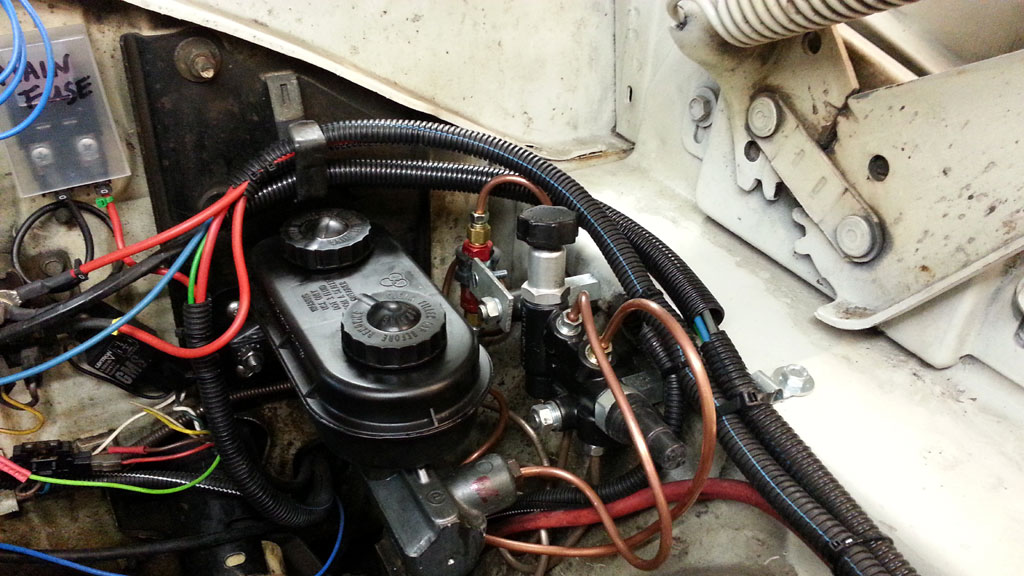
The Wilwood proportional valve is installed. The new master cylinder is temporary installed, to check if everything fits.
All in & outputs are taped up, so no foreign matter can come in.

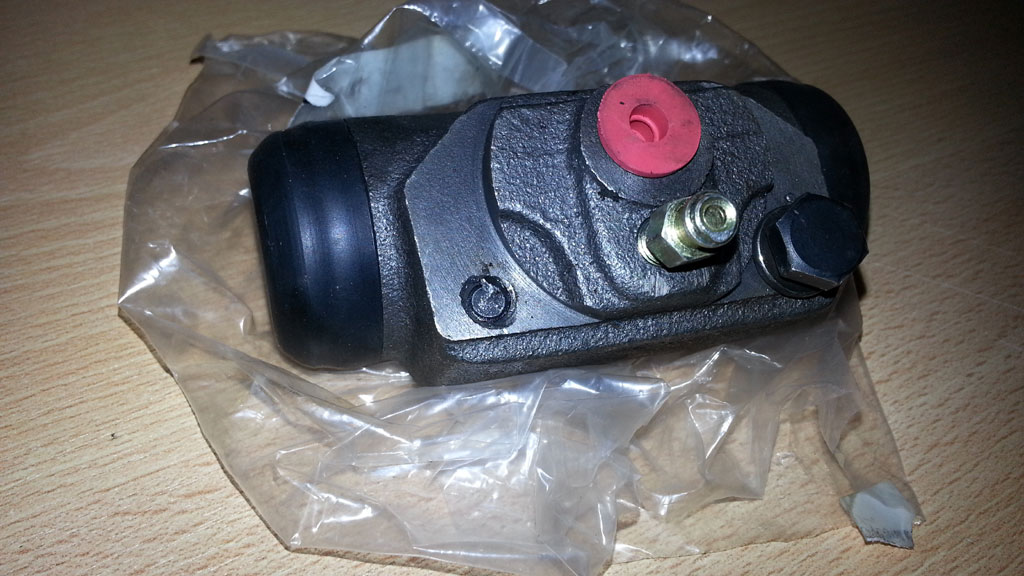
I moved to the rear brakes, some new hardware will be used. Most importantly, new wheel cylinders.
Unfortunately I broke off a bolt of one of the new wheel cylinders. I successfully removed the broken bolt!
I found two matching bolts in the spares box, so this wheel cylinder can be used again.
It's not that they cost much (wheel cylinder & bolts), but it saved me a trip to the parts store ;-).
New drum brake hardware. Installing this is a bitch! For this brake, I probably installed and removed all hardware three times...
Now I know how to do it, so I hope the right side goes a little bit smoother.

And indeed, the right side went together a lot faster.
Next thing to do is, putting the front wheels on the car again and putting the car on it's own weight.
Than I can disconnect the hydraulic hoses of the front brakes and put them on again as neutral as possible. Because I noticed that the hoses wanted to twist when I installed them.
This way I ensure that the hoses don't wear prematurely.
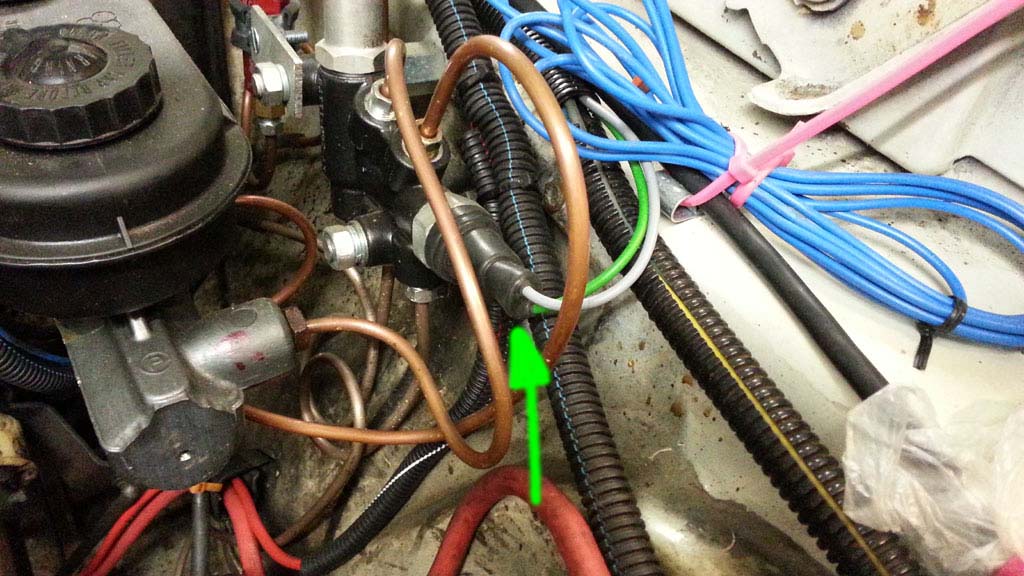
I realised there was no residual pressure valve into the master cylinder. So I had to buy and install an after market one.
A Wilwood 10 psi, in this case. It's installed into the brake line to the rear drum brakes.
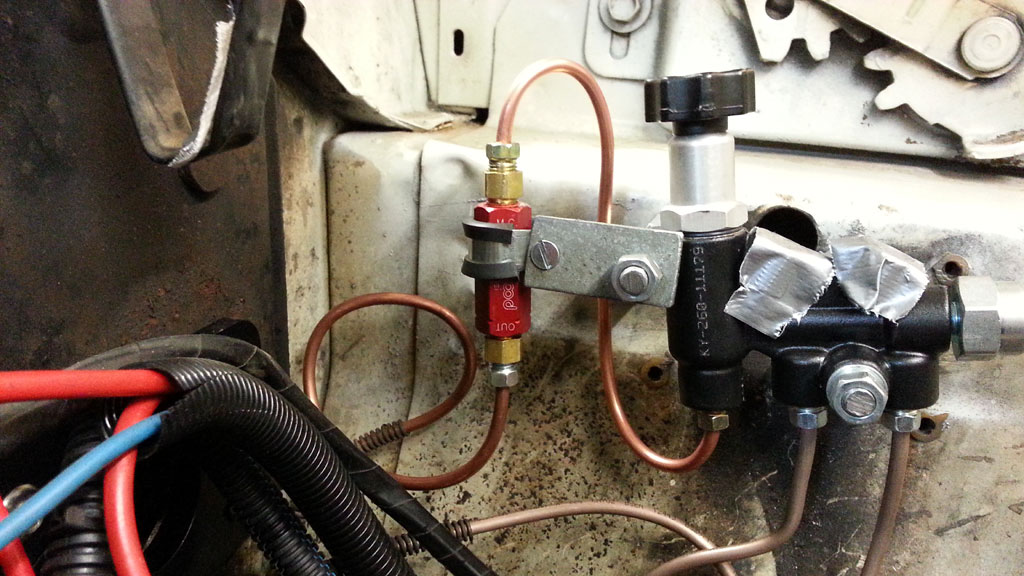
Because of the residual pressure valve, the brake line between mc and proportional valve, for the front brakes, didn't fit anymore.
So I had to make a new one. This photo is taken just after brake bleeding. After two leaking brake line nuts and a leaking hose,
the system was finally air and leak free.
Because of the new adjustable pushrod (between brake pedal and master cylinder), the brake light switch did not work anymore.
Luckily there is a brake light switch on the Wilwood proportional valve. So I extended the original wires and connected them to the new switch.
And it worked like a charm.
To be continued.